Don’t know How to Keep Perler Beads from Breaking? Check out this article and save your perler bead creations!

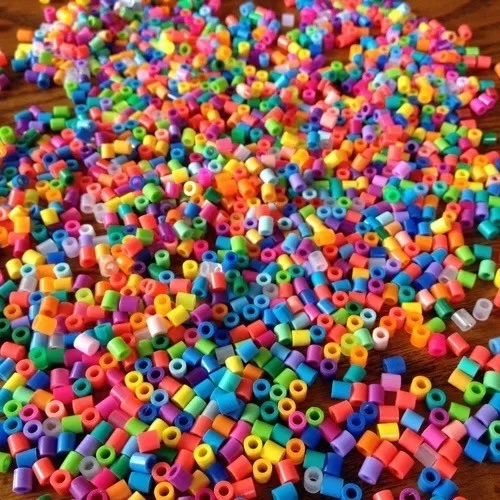
Perler beads are a popular choice among craft enthusiasts for creating intricate pixel art. This activity is a favorite pastime for kids and adults. However, these creations can easily break apart either by an accidental nudge or an unintentional drop. To prevent this, follow the tips mentioned in this article.
How To Keep Your Perler Beads From Breaking?
If you want to preserve and save your perler bead masterpieces, try these amazing tips.
1. Clear Glue
One simple solution for this problem is clear glue. To use this method, apply a layer of clear glue over the perler beads using paintbrush strokes after ironing and removing them from the pegboard. Then, let the artwork dry and harden into a solid, unbreakable pixel art piece. You can also apply it on the other side to strengthen it.
2. Double Ironing
Double ironing can help create stronger bonds between the beads, making them unbreakable. However, you must be careful and consistent when ironing the perler beads. Also, ensure you don’t apply more than the required pressure or heat on the perler art as it would melt the beads and flatten them.
3. Clear Nail Polish
Once the artwork has been ironed and taken off the pegboard, you can paint a layer or more transparent nail paint to keep it glued together. In addition to strength, the clear polish also adds a sheen to your design. Make sure you don’t iron the nail paint added to the design again, as it can ruin both your iron and artwork.
4. Base Material
Another way to ensure that your perler beads don’t break apart is to provide them with a strong base, such as a canvas, a strong board, or durable foam. After completing and ironing the perler beads, stick the pixel art on your base material, cut out the outline, and preserve it forever.
5. Coats of PU
Adding a coat of polyurethane or PU is another effective method to keep the perler beads from breaking apart. This technique not only provides an excellent finish to the artwork but also safeguards it from dust, moisture, and general wear and tear.
okay, but what if my creations already broke? what do I do then? i made a piece I’m kinda proud of, but it broke when I took it off the peg board after ironing. its held together still, but its broken. any extra stress on it and its breaking. also, one of the beads fell off, so idk how to put it back on. i tried putting it together again and ironing the piece again but that didn’t work very well. i did the ironing on both sides btw. help? also, I didn’t know the beads were supposed to go flat? its always gonna go flat on at least one side anyways, right? so idk what to do, and I need feedback pls.
Here’s a few ideas I’ve done. For single beads that r small clusters, use some superglue. I used a toothpick and put it on both sides that were going together. I wouldn’t play catch with it but it stays. As far as stress, unless there’s a backing, it’s gonna warp etc.
I have some big pieces (18×23 and 12×38” bad ass Ace from One Piece shooting a huge fire from one piece) ironed on both sides, double sided tape and up on the wall. The smaller pieces stayed but I have some bigger one and they either warped pretty bad or just fell down and broke.
So now! I’m looking up plexiglass on Amazon. Depending on the thickness and size of it, you can get 5-10 packs for a decent price and then look at the glue it recommends with it. Some high strength craft glue. I’m gonna place on top, trace it, cut with a jigsaw, and then as gear with the glue. Gonna do a nice line on the outside and then some zigzag for the rest.
I also like the idea of the polyurethane. I’ll prolly do that 2 for the uncovered side. Hope it all works out!