Did you know that it’s easy to make a sensory bottle with hand sanitizer at home? If not, read this article till the end!
Sensory bottles, also known as discovery bottles, relaxes the mind and improve kids’ fine motor skills too. They are available in different shapes and sizes at commercial outlets. But if you want to make one at home, grab a bottle of hand sanitizer and read this article until the end.
How to Make Sensory Bottle With Hand Sanitizer
Below are some easy and cost-effective methods for creating sensory bottles using hand sanitizer and a few other supplies.
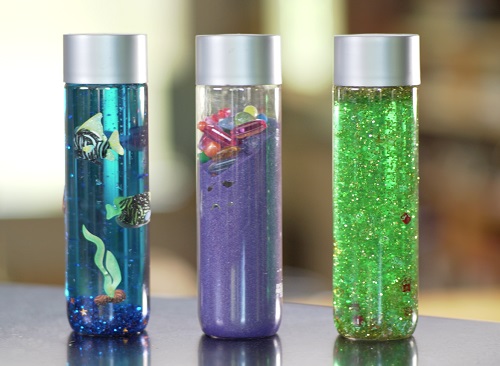
1. Green Hand Sanitizer and Confetti Sensory Bottle
Things You’ll Need
- Water Bottle
- Green-Colored Hand Sanitizer
- Confetti
Instructions
- To make this sensory bottle, pour hand sanitizer into an empty water bottle.
- Do not fill the hand sanitizer all the way to the top.
- Next, add the confetti, sequins, or tiny toys to the bottle and close the lid.
- Make sure to seal the lid of the sensory bottle with superglue and let the superglue dry for at least 15 minutes.
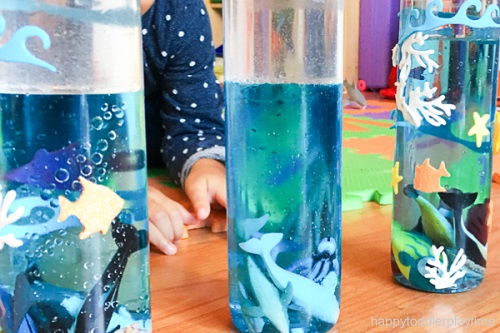
2. Hand Sanitizer and Foam Stars Sensory Bottle
Things You’ll Need
- Plastic Water Bottle
- 5-10 Foam Stars (Glitter Gold)
- 1/4 Cup Holographic Glitter (Royal Blue)
- 1/4 Cup Glitter (Royal Blue)
- 1 Cup Hand Sanitizer
- A Cup of Water
- Funnel
- Superglue
Instructions
- Using a funnel, pour hand sanitizer and water into an empty plastic bottle in equal proportions.
- Next, add the foam stars and glitters to the mixture.
- Once you’re done, secure the bottle lid with superglue or hot glue.
- After 15-20 minutes, the sensory bottle is ready for play.
3. Rice and Hand Sanitizer Sensory Bottle
Things You’ll Need
- A Cup of Rice
- Hand Sanitizer
- Empty Bottle
- Tiny Toys
- Funnel
- Glue Gun and Sticks
Instructions
- First, gather all the mentioned supplies on a table.
- After that, transfer hand sanitizer, water, and tiny toys into an empty bottle.
- Don’t fill the bottle to the top. Fill only two-thirds so the sensory bottle functions properly.
- In the end, tightly close the lid with a glue gun to prevent leaks and wait at least 20-25 minutes before giving the bottle to your kiddo.
How To Use a Sensory Bottle?
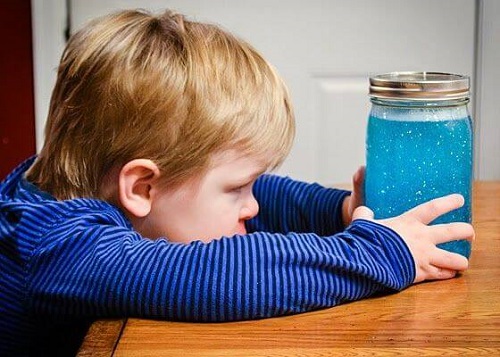
Ask your kids to lightly shake the bottle and put it upside down on a flat surface. Next, ask them to sit back and enjoy the slow movements of toys or glitters inside the sensory bottle.
Tips to Follow While Making Sensory Bottles
- Don’t overfill the bottle with water or hand sanitizer. Always leave a little bit of space at the top so that the contents move freely when shaken.
- Before giving the sensory bottle to your kiddo, make sure it’s sturdy and leak-proof.
- Don’t overcrowd the discovery bottle because numerous items can make it less effective visually.
- Inspect the sensory bottle daily for signs of wear and tear. If necessary, replace it with another one.