Are you wondering whether the Plaster of Paris is safe for kids? This article has all the relevant information!
Plaster of Paris is a popular add-on in various arts and crafts projects. However, a question often arises among parents and teaches, “Is Plaster of Paris safe for kids?” Read on to clear your cloud of doubts and much more below!
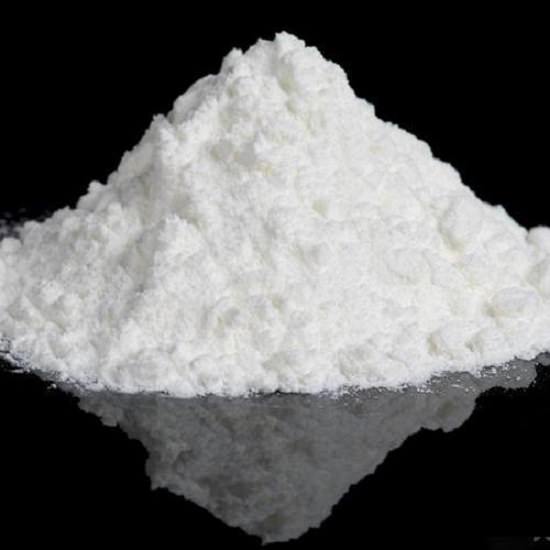
Is Plaster of Paris Safe For Kids?
Plaster of Paris is considered safe for kids only when used under adults’ supervision. This is because inhalation of PoP dust irritates the respiratory system, and direct skin contact can cause burns. Additionally, ingestion of PoP can lead to thermal burn of the gastrointestinal mucosa and obstruction in the gut, especially the pyloric region.
Precautions to Consider
- Ensure kids wear gloves, a face mask, and eye-protection gear while handling PoP.
- Children must wash their hands after crafting or playing with Plaster of Paris.
- Always perform PoP crafts in a well-ventilated area to avoid inhaling toxic fumes.
What To Do in Case of Accidental Exposure to Plaster of Paris?
If you or your kid gets exposed to Plaster of Paris, follow the below measures to minimize health risks:
#In Case of Inhalation
- Immediately move your kiddo to the outside or a well-ventilated area.
- Contact a doctor if the kid is having difficulty breathing or has persistent coughing.
#In Case of Skin Contact
- Clean the affected area with lots of water multiple times.
- Even after cleaning the skin with water, if irritation or burns occur, talk to a physician ASAP.
#In Case of Ingestion
- If your child accidentaly consumed Plaster of Paris, don’t panic, and take him/her to the nearest clinic for treatment. Avoid any kind of home remedy in this case.
#In Case of Eye Contact
- Flush the eyes with lots of water for at least 2-3 minutes. After that, don’t forget to talk to a healthcare professional.
- Ensure the kid won’t rub his or her eyes.