Let’s have a close look at Picaruelo’s origami drummer idea. The craft idea of “The Drummer” is the eighth member of his paper music band!
The most impressive part of Picaruelo’s origami is the detailing. Every part of the dwarf is folded directly from a single sheet—no separate pieces attached. Pretty cool, right? Let’s check out the steps to fold the drummer.
Picaruelo’s Origami Drummer Step by Step Tutorial
Step 1. The Blueprint of Picaruelo’s Origami
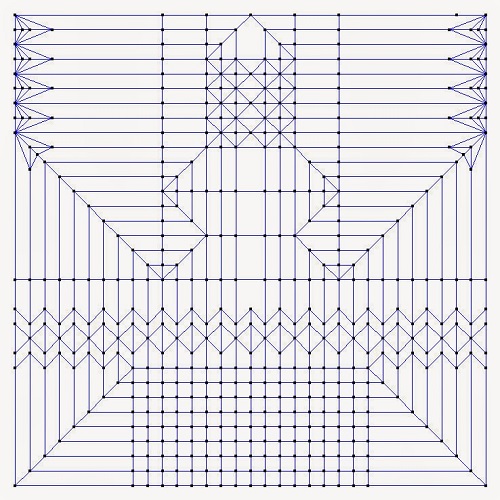
First off, you have to begin by making the outline of the folds on the paper, and each fold section will become a part of the masterpiece.
Step 2. Front View Of The Folding
Here is the first view after collapsing the paper with the folds planned in the first step!
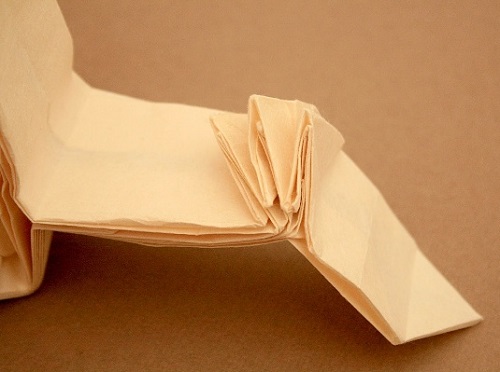
Step 3. The Back View
You can see the basic structure of the drummer is ready with definite hands, legs, and a head.
Step 4. The Side View
This is the side view of the drummer and the intricate folds that will be molded to define the details.
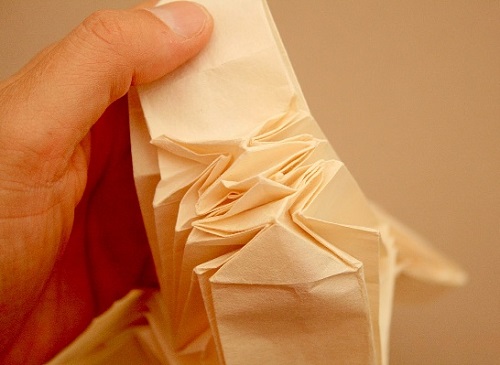
Step 5. The Face To Be
Collapsing the face folds can be a bit tricky, so try practicing them on scrap paper before working on your main piece.
Step 6. Face Folds Of Picaruelo’s Origami Drummer
These folds will be the moustache at the end.
Step 7. Opening Of The Flaps

Some of the folds at the top will become the eyes!
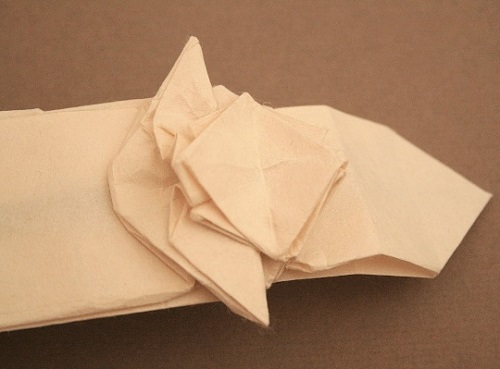
Step 8. The Moustache Folds
By pulling out the folds that are below, you will create the proper moustache
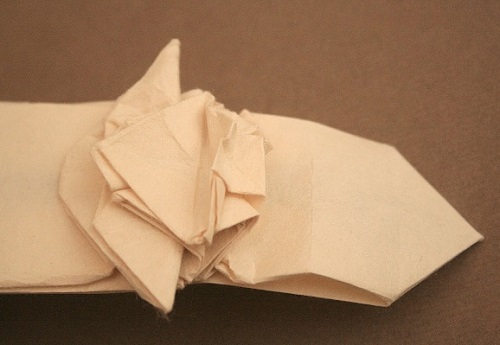
Step 9. Completed Moustache
This is the complete look of the moustache after you pull out both sides of the fold.
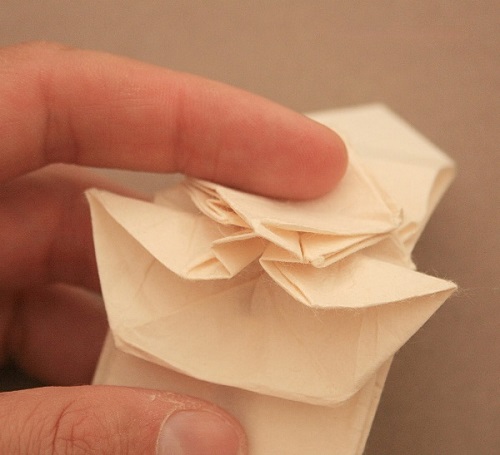
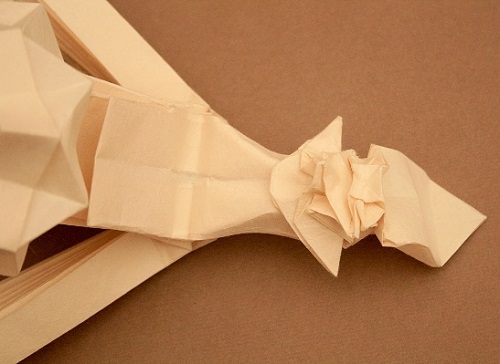
Step 10. Ready For The Eyes!
Now it is time for the eyes, which will be formed with the upper folds.
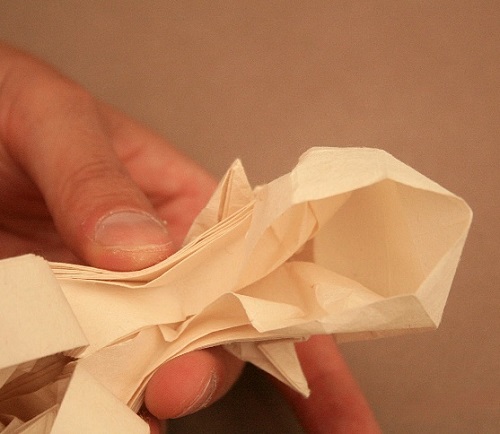
Step 11. Squash The Flap
To model the eyes, you have to squash the top flap of the face.
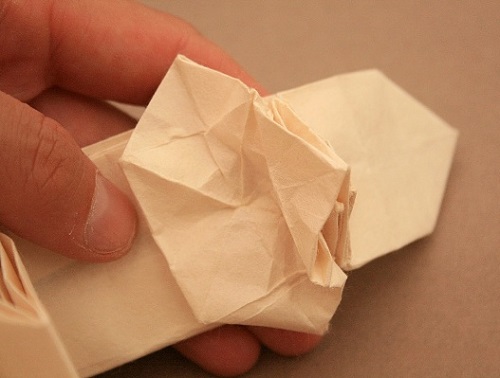
Step 12. Hairs Of The Picaruelo’s Origami
Slightly fold the end flap from both sides to make the hairs.
Step 13. Back View Of The Head
This is the back side of the head of your drummer after giving the shape of the hair.
Step 14. Front View of The Completed Face
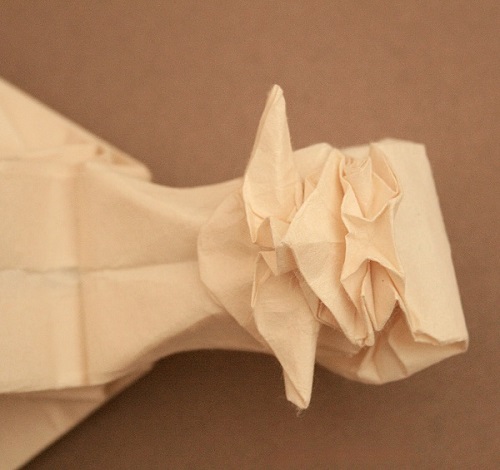
Here is a close look of the face with defined eyes, nose, and the moustache that you had worked on!
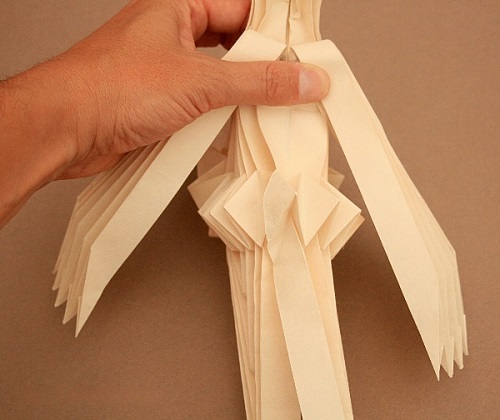
Step 15. Time To Layer
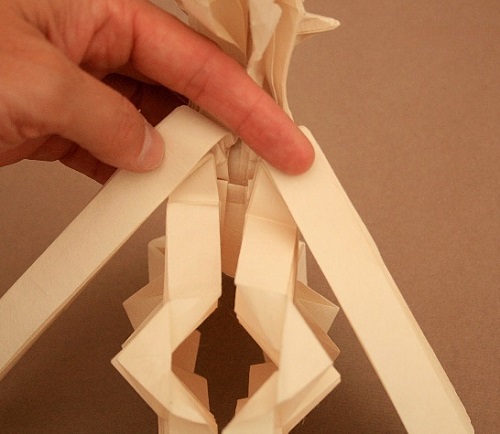
The next part is folding the layers inward to lock the model’s shape and keep everything secure.
Step 16. Layer In The Folds
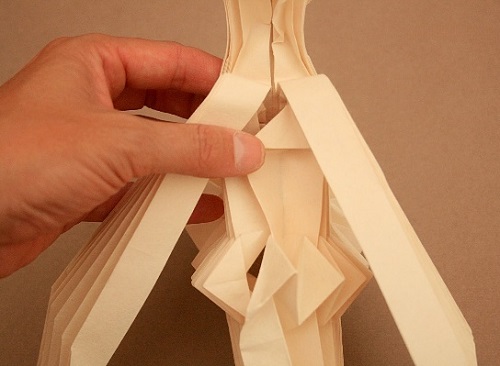
Start by putting one layer on one side on top of the layer of the opposite side.
Step 17. Layer In The Triangle Folds
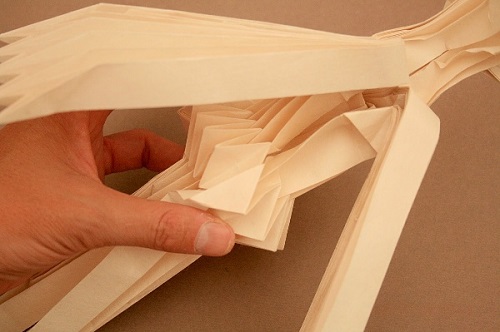
Then put the triangle inside the triangle of the opposite side.
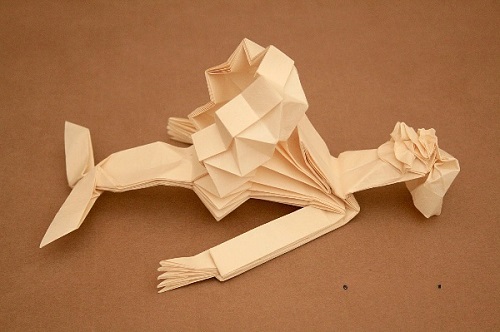
Step 18. Drummer Picaruelo’s Origami Is Almost Ready!
This is how the back will appear after it is closed, with all the layers folded.
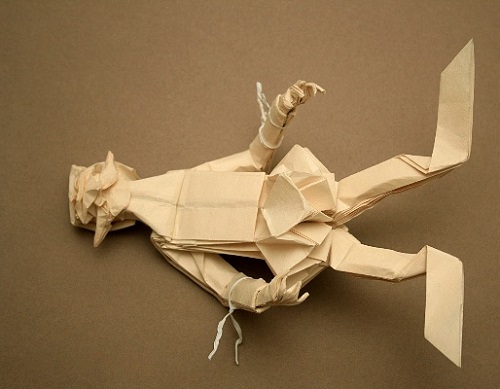
Step 19. Complete Look After Folding

The complete front looks after the layer foldings.
Step 20. Side View Of Picaruelo’s Origami
Here is the side look for your reference and ease.
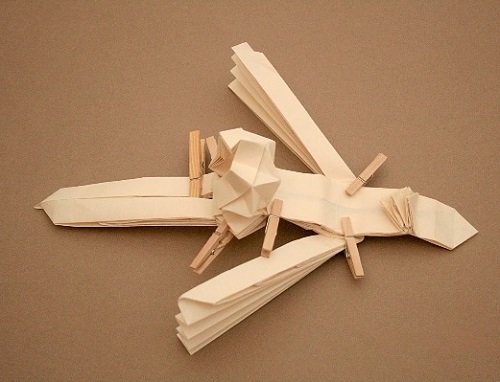
Step 21. Shape The Arms
Now it is time to do the detailing with the help of methyl cellulose and carpenter’s glue! This is how to shape the arms of the drummer.
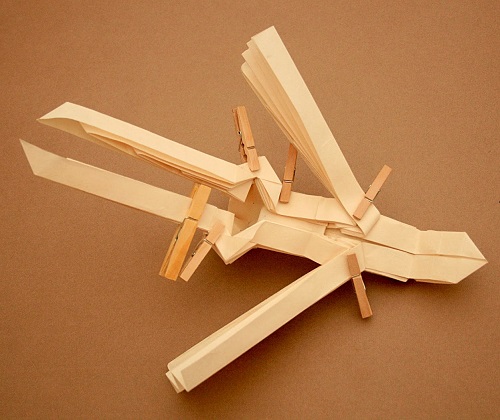
Step 22. Stick In The Drumsticks
Fold the drumsticks directly from extra paper flaps if possible, or carefully attach them so your drummer looks ready to perform.
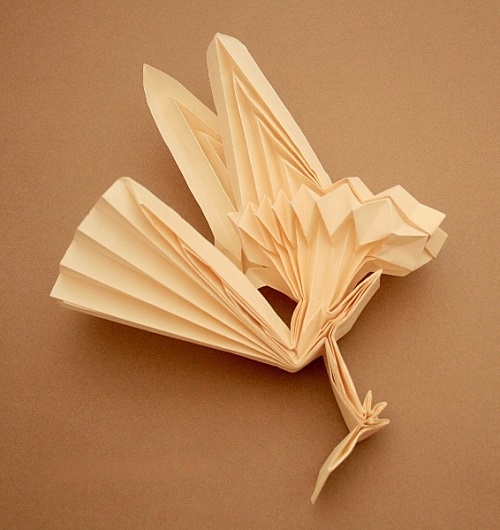
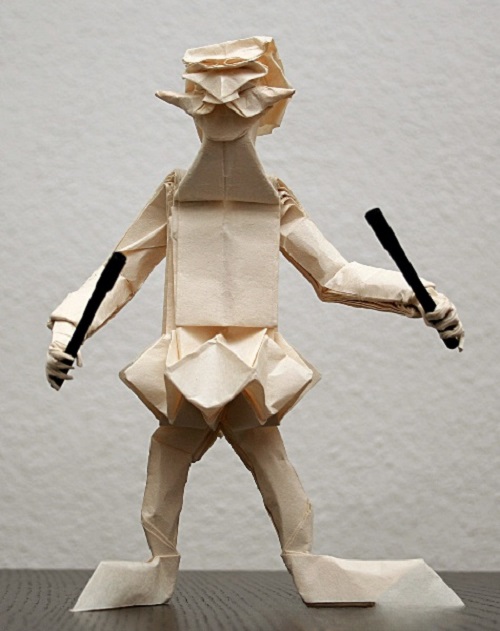
Step 23. Picaruelo’s Origami Drummer is Ready
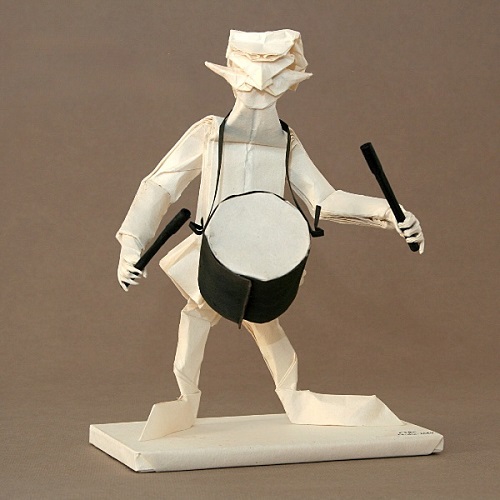
Here is the final product of all your hardwork! See, it wasn’t even so difficult.
So, now that you’ve had fun, when shall we start with the rest of the band members? Tell us in the comment section below! Meanwhile, if you want easier crafts, here’s a simple origami heart envelope idea!